Hello World
Every tutorial starts with “Hello World” and who am I to break this tradition? 🙂 Please keep in mind that I will not be teaching Lua language, concepts of Objects, functions etc. I am assuming that you are a developer who knows at least one language and have a basic understanding of how programing works. Again, I am just learning Lua too so you don’t need to be master Lua to follow this tutorial.
We will create 2 versions of “Hello World” – one that prints to console and one that prints to your mobile device phone screen (or Gideros Player).
Hello World on console
Start Gideros(Gideros Mobile Studio) and select File->New Project from menu. Name the project HelloWorld and browse to directory where you want to store your projects and click OK. Right click on the HelloWorld project icon and select Add New File as seen below:
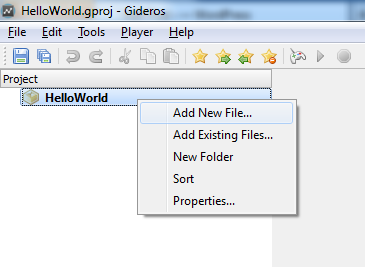
name it main.lua and click ok. This is how you will add new code files to your project. Double click it so it opens in the editor.
Now add just one line:
print "Hello World!"
That is all you need.
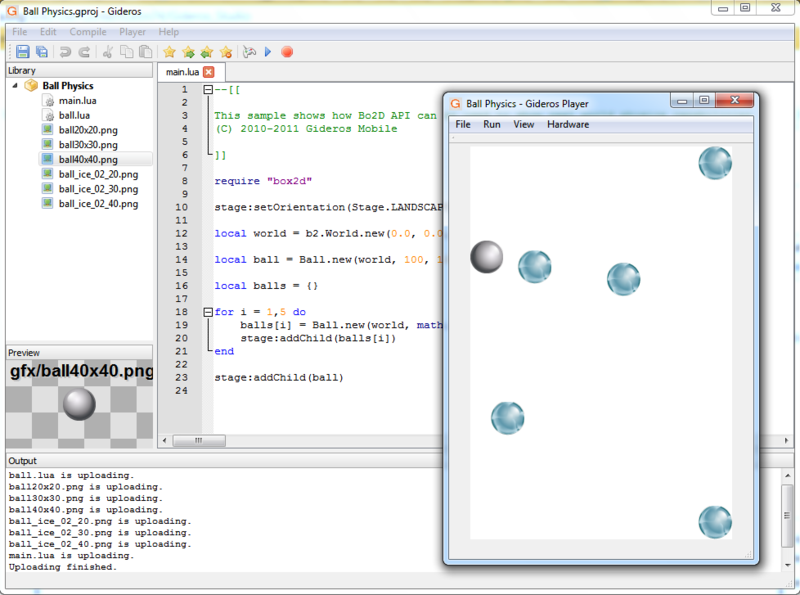
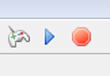
Start the the local player (Player->Start Local Player) and press play button on Gideros menu. Program will execute and… nothing will happen on Player. But check the Output window and you will see something like this:
main.lua is uploading.

Uploading finished.

Hello World!
There is our hello world! Of course this is handy when we need to debut or test something but what we want is this text to appear on Player or our smartphone.
“Hello World” on Gideros Player / Smartphone
This takes few more lines but it is still easy. Delete the code in our editor and add this :
-- HelloWorld.lua script
local myTextField = TextField.new(nil, "Hello World!")
myTextField:setPosition(40,100)
stage:addChild(myTextField)
Save it, run Player and you will see text “Hello World” displayed there or on your smartphone (you have to run the Gideros app on your smartphone first of course). Great, your first mobile app is finished!
Let me explain this line by line
-- HelloWorld.lua script
This is a comment so we can ignore it. In Lua you start one line comments with --. Please check some Lua tutorials on net for more.
local myTextField = TextField.new(nil, "Hello World!")
What we do here is create new text field object with the text Hello World!. Word nil just means that Gideros will use the default font. We assign this to local variable myTextField.
myTextField:setPosition(40,100)
Our myTextField is now TextField object so we can access and use/set all kinds of methods, events and properties. In this case we simply set the position of our textfield to appear on screen (X=40, Y=100).
stage:addChild(myTextField)
In all our previous lines we just created textfield, set its parameters but we have to display it on our screen. Think of stage as screen for now so everything that we want to display will have to be added to stage as its “child”.
Fun with text
Now let’s have some fun with text. Download this font from 1001freefonts.com and extract it to your HelloWorld project folder. Right click on the HelloWorld project icon and select Add Existing Files.. and select the “orange juice 2.0” font.
Now replace/modify your code so it will look like this(comments in the code):
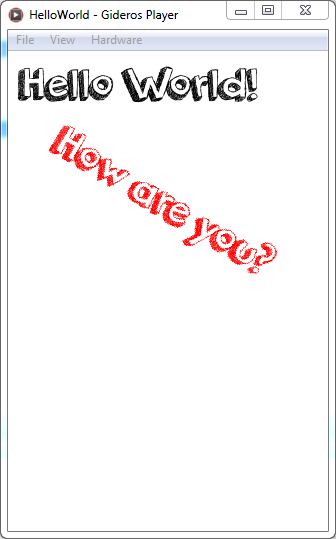
-- HelloWorld.lua script
-- We define the font we will use and set the size to 48
local myfont = TTFont.new("orange juice 2.0.ttf", 48)

-- create 2 text fields with text "Hello World!" and "How are you?" which use myfont
local myTextField = TextField.new(myfont, "Hello World!")
local oneMoreTextField = TextField.new(myfont, "How are you?")

--for myTextField we only set the position of the text on screen
myTextField:setPosition(10,50)

-- for oneMoreTextField we set all kinds of properties - position, color (in HEX), rotation..
oneMoreTextField:setPosition(40,100)
oneMoreTextField:setRotation(31)
oneMoreTextField:setTextColor(0xFF0000)

-- add both to stage(screen) so we can see them
stage:addChild(myTextField)
stage:addChild(oneMoreTextField)
This is what you should see if you did everything right. Cool!