It’s generally better to create a new Git branch locally first and then push it to GitHub. Here’s why:
1. Create the Branch Locally First
Creating a branch locally gives you full control and flexibility before sharing it with others. The workflow typically looks like this:
- Create the branch locally:
git checkout -b new-branch-name - Work on your changes.
- Commit your changes:
git add . git commit -m "Description of changes" - Push the branch to GitHub:
git push origin new-branch-name
Benefits of Creating Locally First:
- Control: You have the opportunity to make changes and commits before sharing the branch on GitHub.
- Avoiding Mistakes: It’s easier to catch and fix any mistakes locally before making the branch visible to others.
- History: Commits will already be in place when you push, giving collaborators more context about your changes.
2. Create the Branch on GitHub First
You can also create a branch directly on GitHub and then fetch it locally:
- Create a new branch on GitHub via the web interface.
- Fetch and check out the branch locally:
git fetch origin
git checkout -b new-branch-name origin/new-branch-name
When to Create on GitHub First:
- Collaboration: If you need to create a branch quickly for collaboration (e.g., for someone else to start working on it immediately), creating it on GitHub first can make sense.
- Protection: Sometimes, teams enforce branch protection policies (e.g., on the
mainbranch). Creating branches on GitHub might automatically apply those policies.
Summary:
- Local First: Provides flexibility, control, and is the most common practice for individual developers or when working on a feature before sharing it.
- GitHub First: Useful for initiating collaboration quickly or if your team has specific branch management policies.
In most cases, creating the branch locally first is the preferred approach.
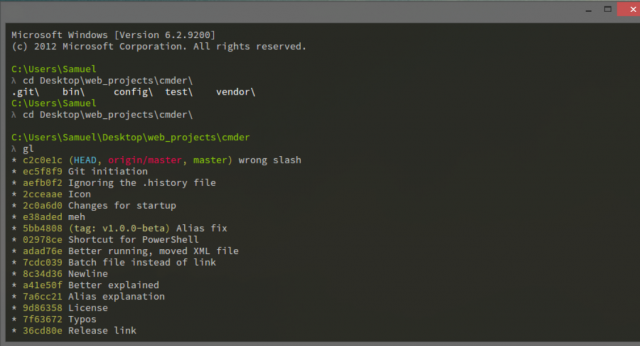
 Another great thing: It comes with my favorite Console Emulator CMDER (not my screenshot):