Sometimes you push an update to a CSS file, a script, or an image, and Cloudflare keeps serving the old version to visitors. Purging your entire site cache is overkill (and slows things down while it rebuilds).
Here is how you can clear the cache for a single specific file directly from your Cloudflare dashboard.
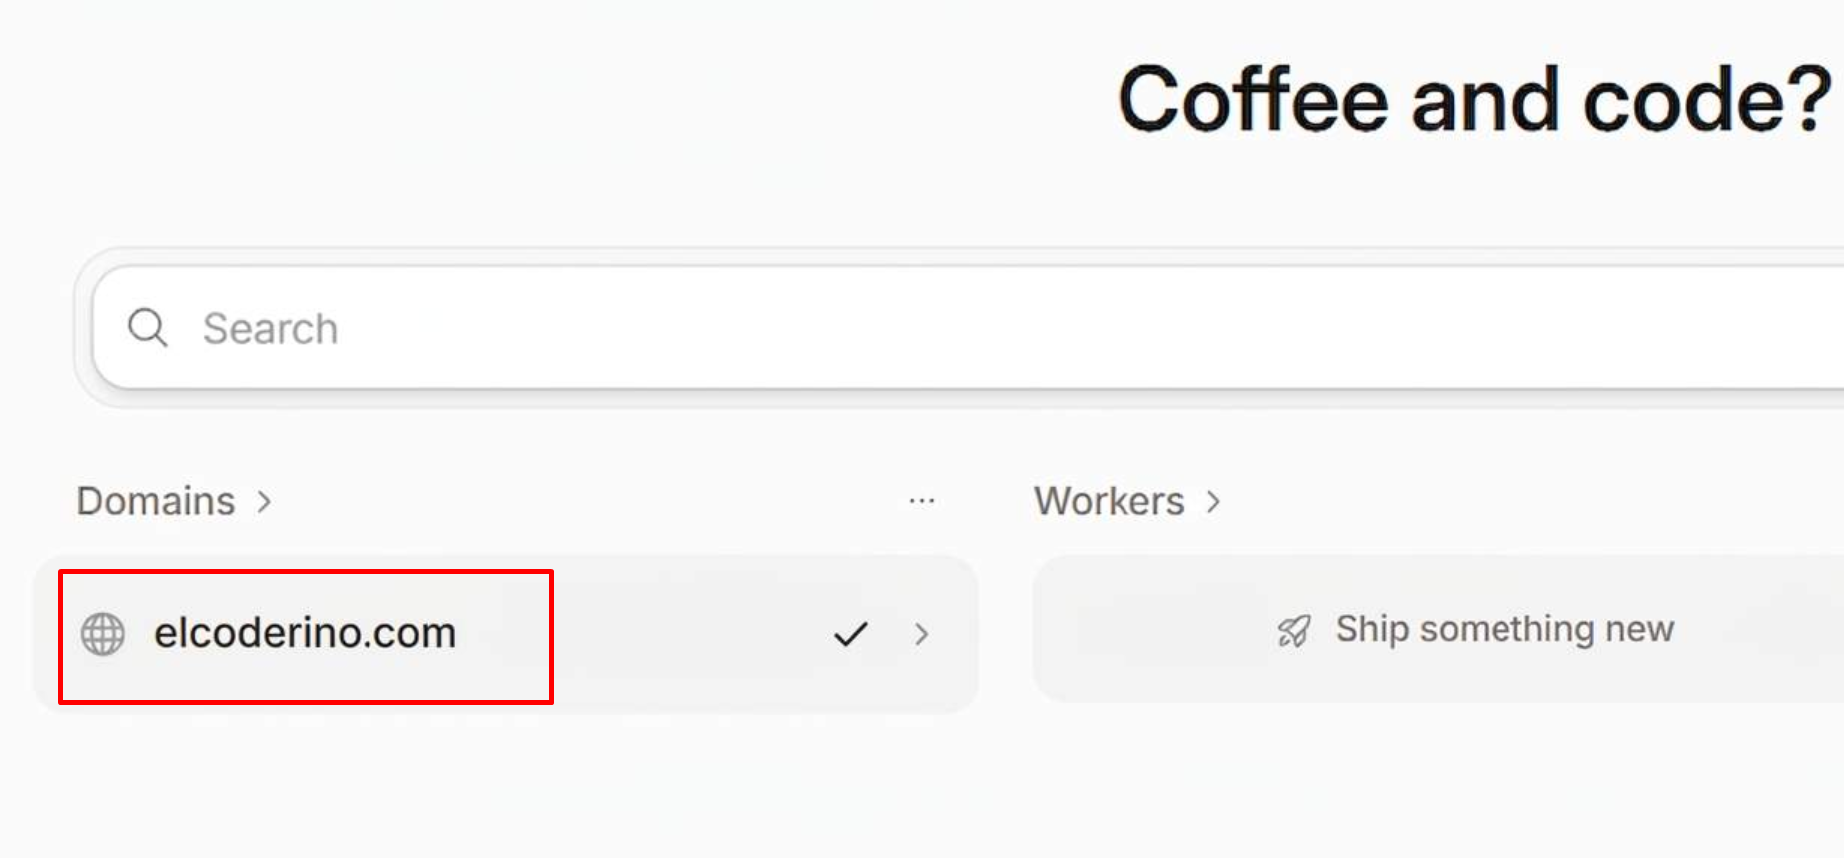
Step 1: Log in to Cloudflare Dashboard
Head over to dash.cloudflare.com and select the website/domain you want to update.
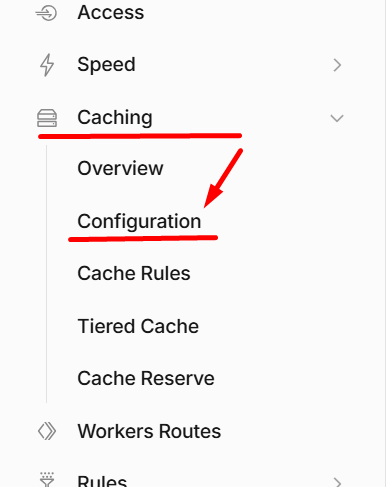
Step 2: Navigate to Caching
In the left-hand sidebar menu, look for Caching and click on it. From the sub-menu or options presented, click on Configuration.
Step 3: Use “Custom Purge”
Scroll down until you find the Purge Cache section. You will see a big button for “Purge Everything”, but don’t click that (unless you want to purge all files).
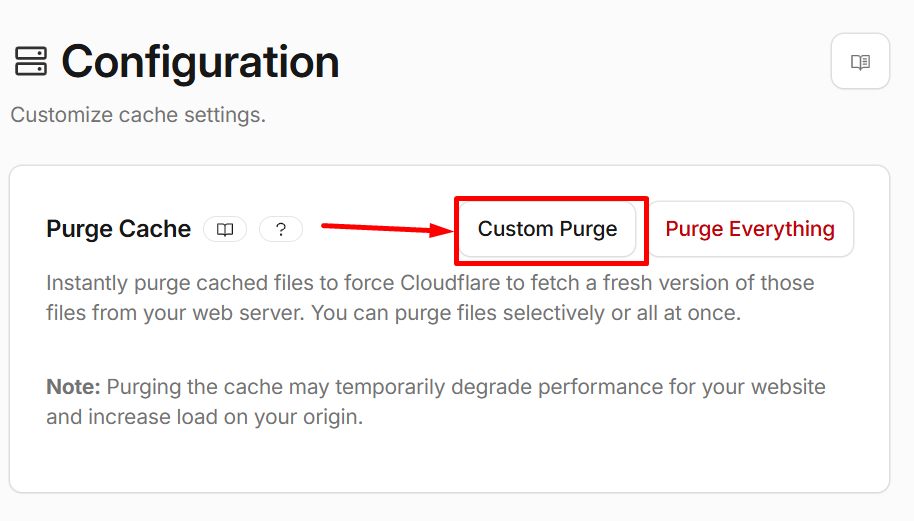
Instead, look for the option labeled Custom Purge.
- Click on Custom Purge.
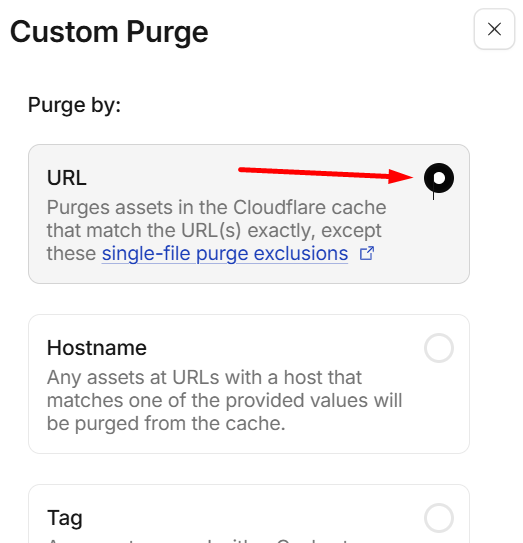
- A modal or input field will pop up asking for URLs.
- Select URL from the dropdown menu (if applicable).
- Or scroll down and enter the full absolute URL of the file you want to clear.
- Example:
https://example.com/assets/css/style.css
- Example:
Important Note: Make sure you enter the exact public URL of the asset, including
https://and the full path.
Step 4: Confirm the Purge
Click the Purge button. Cloudflare will instantly invalidate that specific file across all its edge servers worldwide.
Alternative: Using Cloudflare API (For Automated Workflows)
If you need to purge a single file programmatically (e.g., via deployment scripts), you can send a POST request to the Cloudflare API:
curl --request POST \
  --url https://api.cloudflare.com/client/v4/zones/{ZONE_ID}/purge_cache \
  --header 'Content-Type: application/json' \
  --header 'Authorization: Bearer YOUR_API_TOKEN' \
  --data '{"files":["https://example.com/assets/css/style.css"]}'
Make sure to replace {ZONE_ID}, your API token, and the file URL with your actual data.
That’s it! Your single file is now fresh, and users will get the updated version on their next request.